Spring Boot: create a Project
Spring Boot
📘 Create a Spring Boot Project
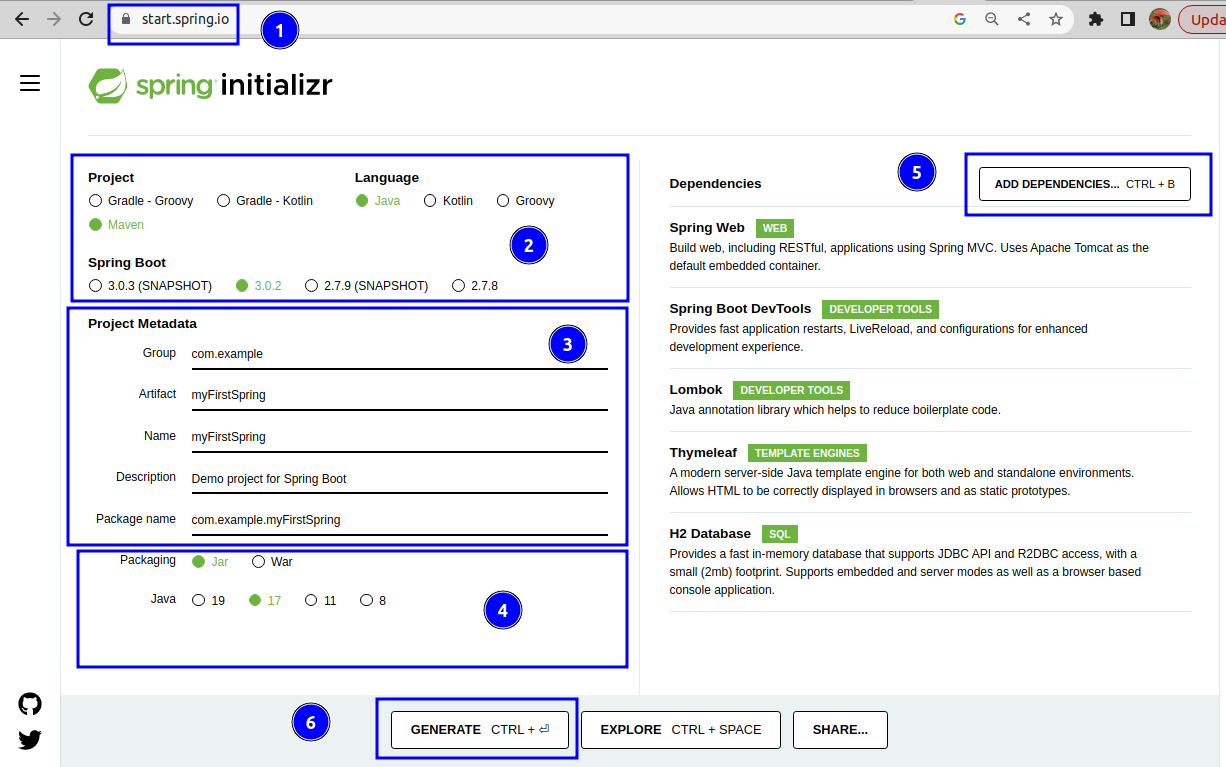
Go to
start.spring.ioto create a new project with desired settings (Maven, Java, Spring Boot version, etc.).Add required
dependenciessuch as Spring Web.Download the generated
ZIP fileand import it intoIntelliJ IDEA.Create web and REST controllers by creating new Java classes and defining the desired endpoint methods.
Run the application and test the web and REST controllers.
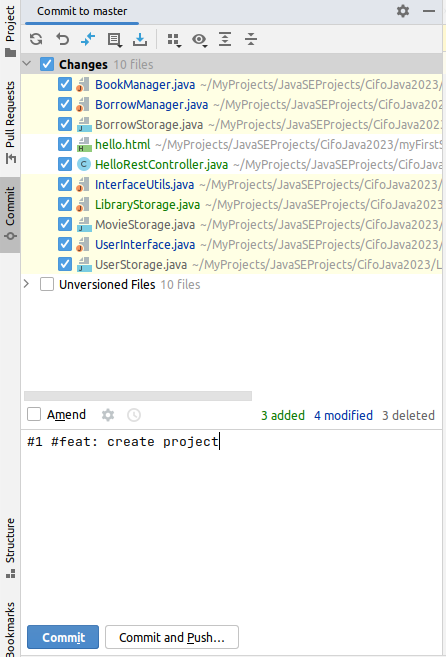
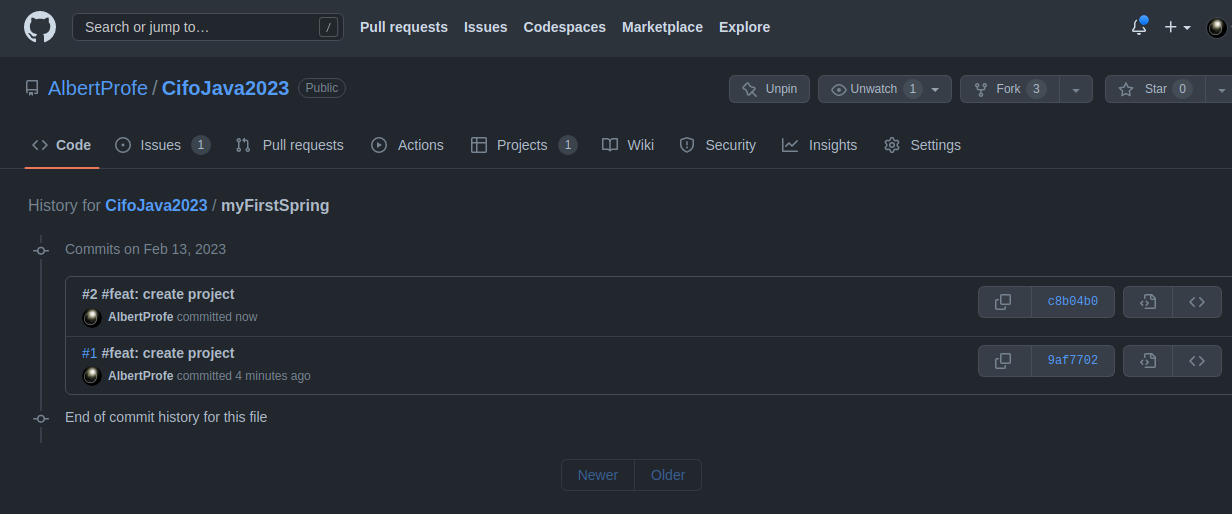
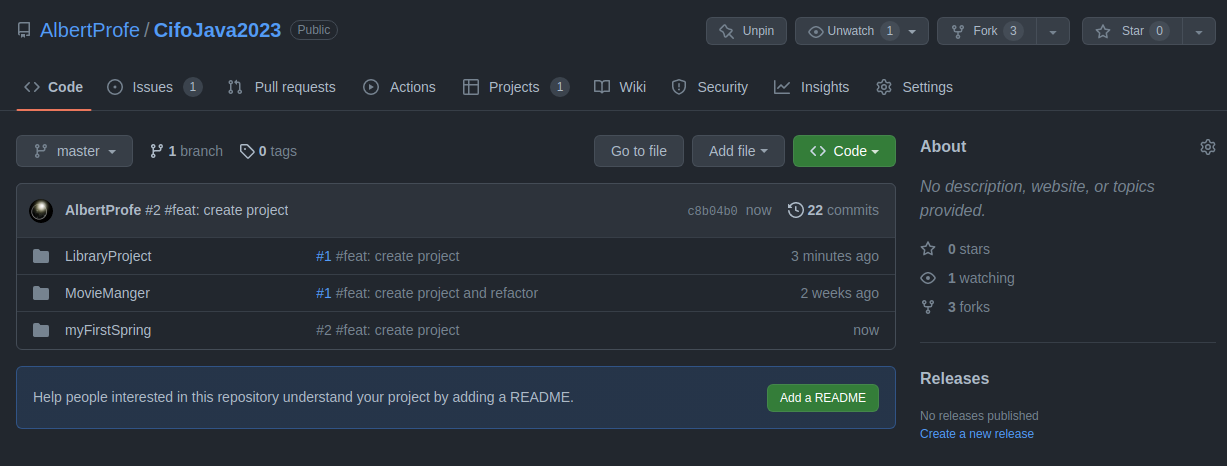
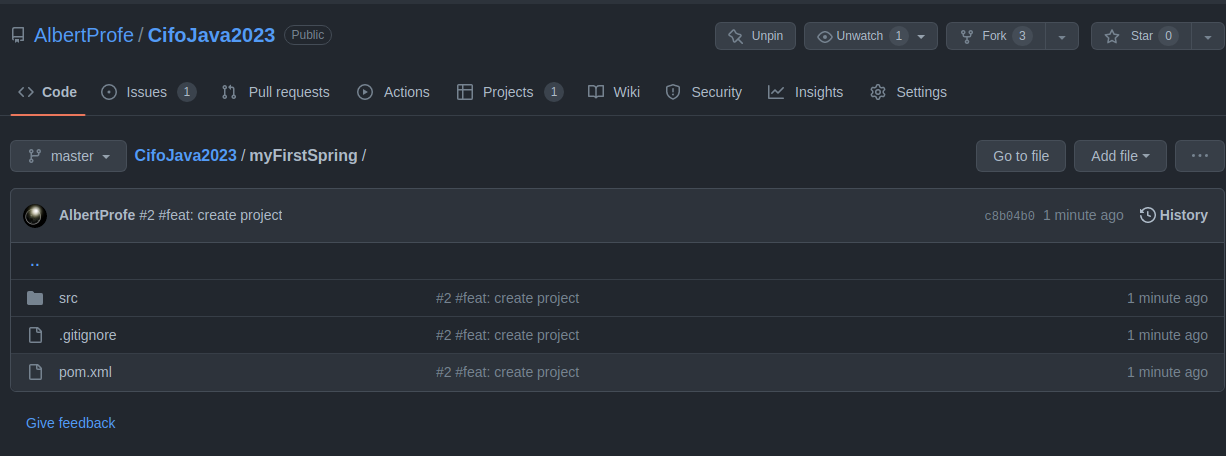
Commit and push the code to
GitHub.com(using the built-in Git support in IntelliJ IDEA).
1 Create Maven Project: step-by-step
Here are the steps to create a Spring Boot Maven project, generate it, download it, import it into IntelliJ IDEA, create a web and REST controller (@Controller and @RestController), execute it, and then commit and push it to GitHub.com:
1.1 Open a web browser
And go to the Spring Initializer website at:
1.2 Select the desired project settings
Such as project type (Maven), language (Java), and Spring Boot version.
1.3 Add dependencies
Select the required dependencies, such as:
- Spring Web,
- Spring Data JPA,
- Spring Boot DevTools,
- Lombok
- Thyemleaf
- H2 Database
1.4 Generate
Generate the project by clicking the Generate button.
- URL where you may create a
Spring Bootproject. - Define
Mavenas Dependencies Mananger andJava. - Name your project.
- Choose your version and packaging:
jar. - Add
dependencies Generate&Download
1.5 Download
Download the generated project as a ZIP file.
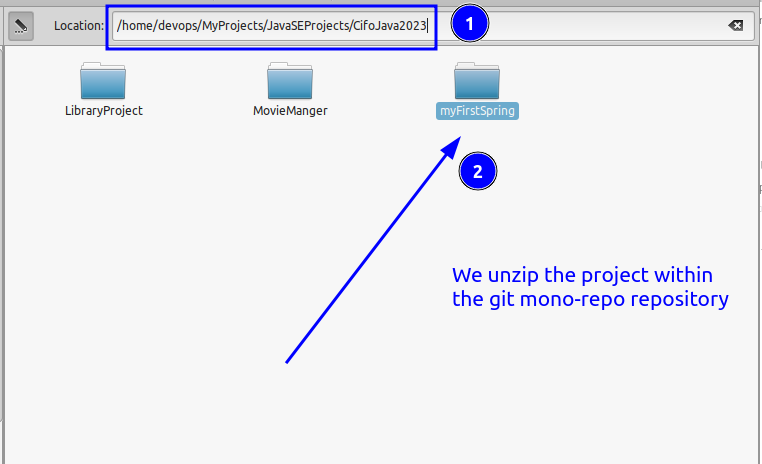
1.6 Unzip
Unzip the file to a desired location and import the project into IntelliJ IDEA.
1.7 Build
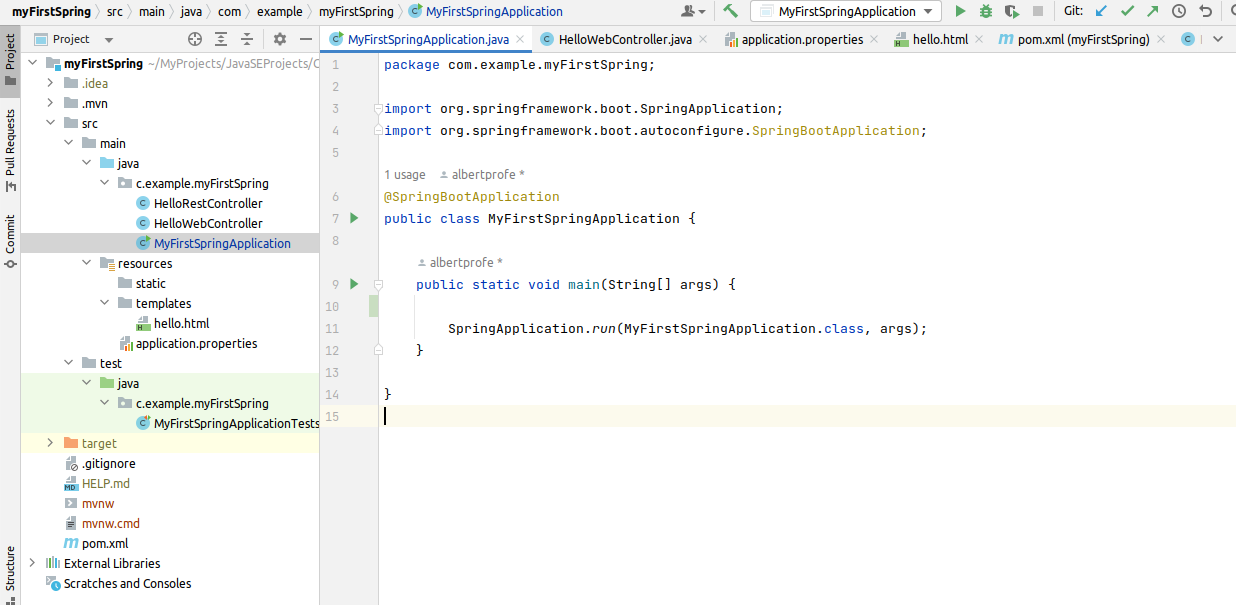
Build the project and check folder tree structure and POM.xml
- Execute/refresh Maven if necessary
- POM.xml
<dependencies>
        <dependency>
            <groupId>org.springframework.boot</groupId>
            <artifactId>spring-boot-starter-thymeleaf</artifactId>
        </dependency>
        <dependency>
            <groupId>org.springframework.boot</groupId>
            <artifactId>spring-boot-starter-web</artifactId>
        </dependency>
        <dependency>
        </groupId>springframework.boot</groupId>
            <artifactId>spring-boot-devtools</artifactId>
            <scope>runtime</scope>
            <optional>true</optional>
        </dependency>
        <dependency>
            <groupId>com.h2database</groupId>
            <artifactId>h2</artifactId>
            <scope>runtime</scope>
        </dependency>
        <dependency>
            <groupId>org.projectlombok</groupId>
            <artifactId>lombok</artifactId>
            <optional>true</optional>
        </dependency>
        <dependency>
            <groupId>org.springframework.boot</groupId>
            <artifactId>spring-boot-starter-test</artifactId>
            <scope>test</scope>
        </dependency>
    </dependencies>
1.8 Create a web controller
Create a web controller by right-clicking on the project and selecting "New" -> "Java Class".
- In the newly created class, add the following code to define a simple **web controller**:1.9 Create a HTML web page
Create a HTML web page by right-clicking on the project and selecting "New" -> "HTML page".
1.10 Create a REST controller
Create a REST controller by following the same steps as in step 8 and adding the following code to define a simple REST endpoint:
package com.example.myFirstSpring;
import org.springframework.web.bind.annotation.GetMapping;
import org.springframework.web.bind.annotation.RestController;

@RestController
public class HelloRestController {

    @GetMapping("/hellorest")
    public String helloWorld(){

        return "Hello Worlds and class!!!!";
    }
}1.11 Run
Run the application by clicking the “Run” button or by using the keyboard shortcut “Ctrl + Shift + F10”.
1.12 Check the endpoints
/home/devops/MyProjects/JavaSEProjects/CifoJava2023/myFirstSpring Once the application is running, you can test it by accessing:
- the web controller in a web browser by going to
http://localhost:8080/helloweb
- and the REST controller by going to
http://localhost:8080/hellorest
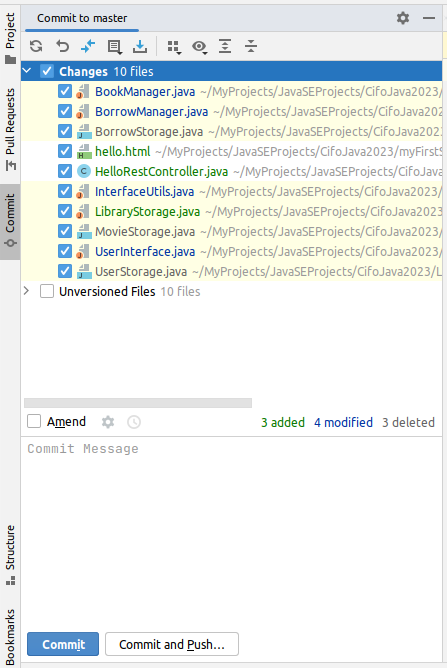
1.13 Commit & Push
Finally, you can commit and push the code to Git by using the built-in Git support in IntelliJ IDEA. Simply right-click on the project and select “Git” -> “Commit Directory” and then “Git” -> “Push”.
A monorepo is a version control strategy where a single repository contains all of the source code, resources, and assets required to build and run an application or a suite of applications. Monorepos are used to manage projects that have multiple, interdependent components that are frequently developed and deployed together.

