Linux Distros: Mint
Mint
1 What is Linux Mint?
Linux Mint is an operating system for desktop and laptop computers. It is designed to work ‘out of the box’ and comes fully equipped with the apps most people need.
1.1 Installation
1.2 Post-installation
1.3 Linux Mint System Applications Overview
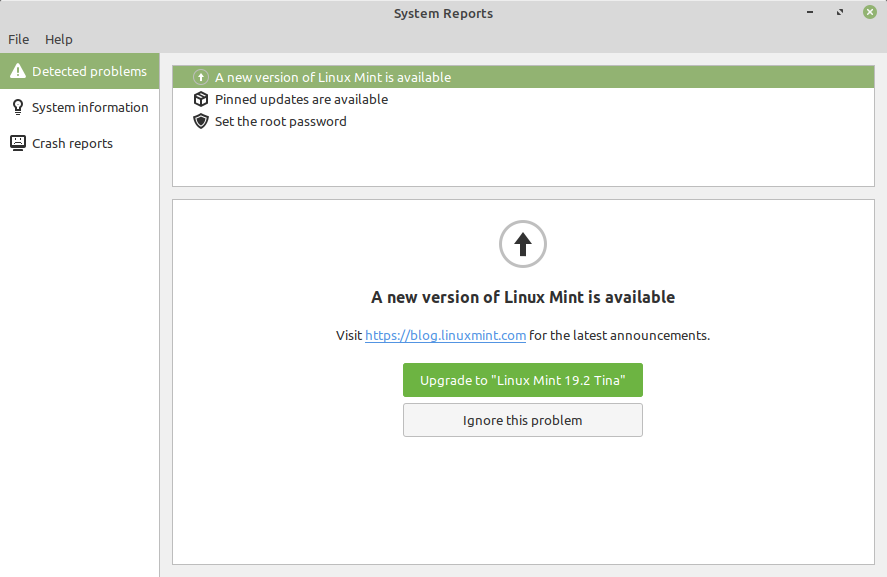
System Reports
Linux Mint provides users with a powerful diagnostic tool known as “System Reports.” This application assists users in identifying and troubleshooting issues on their system. Whether it’s hardware-related problems, crashes, or performance issues, System Reports gathers relevant data and generates detailed reports to help users and support teams understand and resolve issues efficiently.
Usage and Features:
- Users can access System Reports through the application menu or search bar.
- The tool collects information on hardware, system logs, and potential conflicts.
- Detailed reports are available for user analysis or can be shared with the community for assistance.
System Manager
Linux Mint’s “System Manager” serves as a centralized hub for managing various system settings and configurations. This application consolidates essential system management tools, providing users with a convenient interface to control various aspects of their operating system.
Features:
- System Manager includes modules for managing software, updates, and system settings.
- Users can configure user accounts, system startup applications, and power management options.
- The application simplifies system maintenance and customization, enhancing the user experience.
System Settings
The “System Settings” application in Linux Mint offers a comprehensive set of tools for users to customize and configure their system. From display settings to keyboard shortcuts, users can tailor the Linux Mint environment to suit their preferences.
Highlights:
- System Settings is accessible through the application menu or system tray.
- Users can adjust display properties, set up printers, and configure network settings.
- The intuitive interface makes it easy for both beginners and experienced users to personalize their system.
System Info
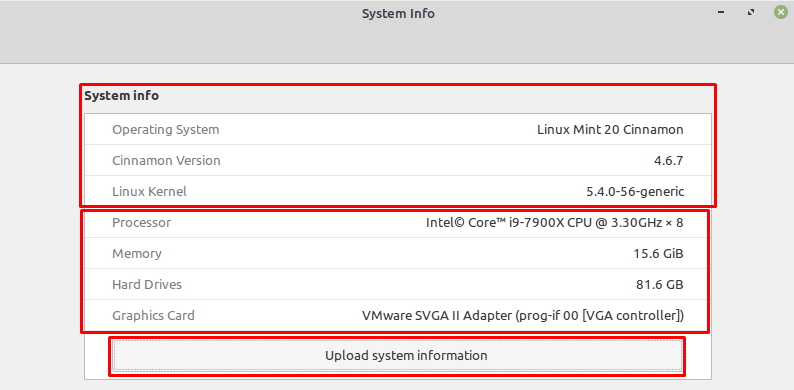
Linux Mint’s “System Info” application provides users with detailed information about their system’s hardware and software configuration. This tool is invaluable for users seeking to understand their system specifications or troubleshoot compatibility issues.
Key Information:
- Users can view details about the processor, memory, graphics, and storage.
- System Info also provides information on the Linux Mint version, kernel, and desktop environment.
- The application is a quick reference for users and support personnel dealing with technical inquiries.
System monitor
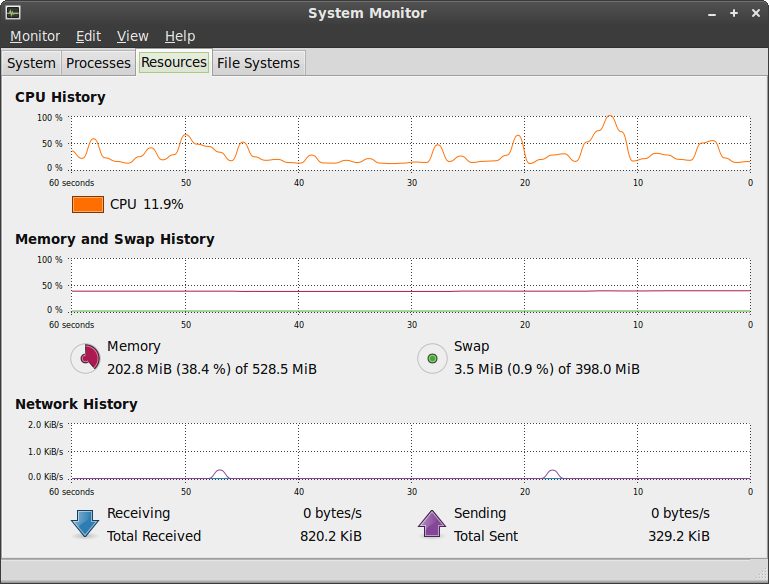
Process Viewer And System Resource Monitor For GNOME
GParted: A Powerful Disk Partitioning Tool for Linux
GParted stands as a formidable disk partitioning tool in the Linux ecosystem, offering users a robust and user-friendly solution for managing disk partitions on their systems. With its open-source nature and a wide array of features, GParted has become a go-to tool for both beginners and experienced users seeking efficient disk management.
Features of GParted:
- Partition Resizing and Moving
- GParted allows users to resize, move, and manipulate partitions effortlessly. Whether you need to expand a partition to accommodate more data or rearrange existing partitions, GParted provides a straightforward interface to carry out these tasks.
- Filesystem Support
- The tool supports a variety of filesystems, including ext2, ext3, ext4, FAT16, FAT32, NTFS, and more. This broad compatibility ensures that GParted can be used on a wide range of storage devices and systems.
- Create and Delete Partitions
- Users can create new partitions or delete existing ones as needed. This flexibility is especially valuable when setting up new drives, dual-boot systems, or reorganizing storage configurations.
- Check and Repair Filesystems
- GParted includes tools to check and repair filesystems, ensuring the integrity of data on partitions. This feature is essential for maintaining a healthy storage environment and preventing data corruption.
Using GParted:
- Installation
GParted is often available in the software repositories of major Linux distributions. Users can install it using their package manager. For Ubuntu-based systems, the command is:
sudo apt-get install gparted
- Launching GParted
- After installation, GParted can be launched from the application menu or by running the command
gpartedin the terminal.
- After installation, GParted can be launched from the application menu or by running the command
- GUI Interface
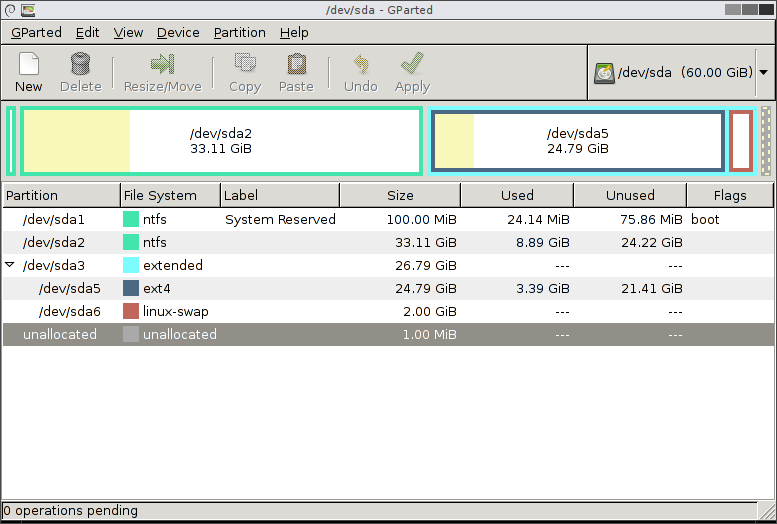
- GParted provides a graphical user interface that displays a visual representation of the disk partitions, making it easy for users to understand and manage their storage configuration.
Community and Support
GParted boasts an active and supportive community, and users can find documentation, tutorials, and forums on the official GParted website. The website serves as a valuable resource for both new and experienced users, offering guidance on using the tool effectively and troubleshooting common issues.
2 Keep your Linux updated
Open your terminal and execute:
sudo apt-get update && sudo apt-get upgrade && sudo apt-get dist-upgrade && sudo apt-get autoremove
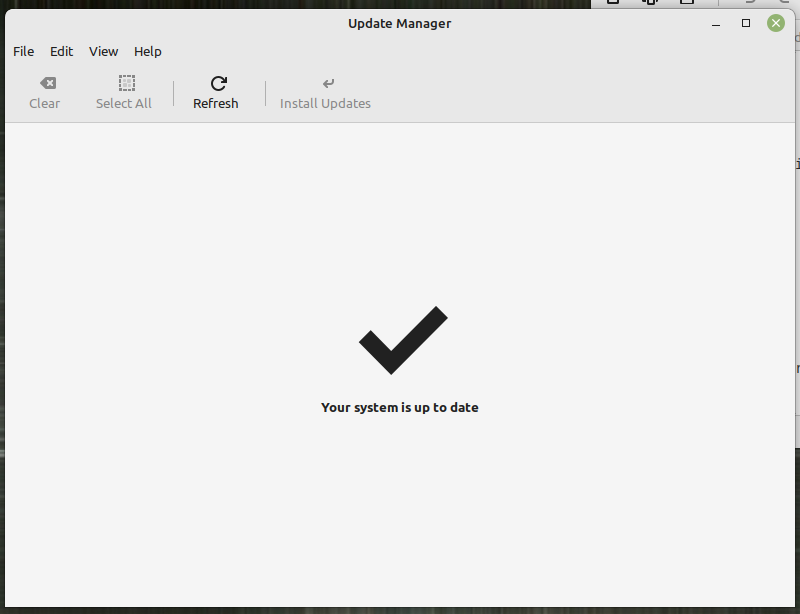
Or you may go through GUI: Update Manager:
2.1 Install Developer Tools
2.1.1 Make a Bash Script Executable
- Create a new text file with all the software you need with a .sh extension and code it as
#!/bin/bash(that is, copy that line to the top of it)
Code
Make the file executable, open the command line and run:
chmod u+x devtools.sh. You are giving permissions to execute this file: it will grant only the owner of that file execution permissions.Run it:
./devtools.shor double-click the iconBe careful with certain packages and tools do not work under
apt get install, you will need to usesnap
snap
sudo mv /etc/apt/preferences.d/nosnap.pref ~/Documents/nosnap.backup
sudo apt update
sudo apt install snapd

intellij-idea-educational
visual code educational
sudo snap install intellij-idea-educational --classic

chrome
wget https://dl.google.com/linux/direct/google-chrome-stable_current_amd64.deb
sudo dpkg -i google-chrome-stable_current_amd64.deb

obsidian
wget https://github.com/obsidianmd/obsidian-releases/releases/download/v1.0.3/obsidian_1.0.3_amd64.snap
sudo snap install --dangerous obsidian_1.0.3_amd64.snap --classic

visual code educational
wget https://az764295.vo.msecnd.net/stable/1ad8d514439d5077d2b0b7ee64d2ce82a9308e5a/code_1.74.1-1671015296_amd64.deb
sudo apt install ./code_1.74.1-1671015296_amd64.deb
2.1.2 Create an Installer Bash Script
#!/bin/bash

# Read the CSV file and install each app
installed=0
not_installed=0
now=`date`
sudo apt-get update
echo -e "\nInstall execution long" >> installed_apps.log
echo -e "$now\n" >> installed_apps.log
while IFS=';' read -r app package_manager; do
    if [ "$package_manager" = "apt" ]; then
        if ! command -v "$app" &> /dev/null; then
            sudo apt-get install -y "$app"
            echo -e "\t$app installed/error" >> installed_apps.log
            ((installed++))
        else
            echo -e "\t$app already exists" >> installed_apps.log
            ((not_installed++))
        fi
    elif [ "$package_manager" = "snap" ]; then
        if ! command -v "$app" &> /dev/null; then
            sudo snap install "$app"
            echo -e "\t$app installed/error" >> installed_apps.log
            ((installed++))
        else
            echo -e "\t$app already exists" >> installed_apps.log
            ((not_installed++))
        fi
    fi
done < apps.csv

echo "Total apps: $((installed + not_installed))"
echo "Installed/tried apps: $installed"
echo "Existing apps: $not_installed"

echo -e "\nTotal apps: $((installed + not_installed))" >> installed_apps.log
echo "Installed/tried apps: $installed" >> installed_apps.log
echo "Existing apps: $not_installed" >> installed_apps.log
2.2 Timeshift
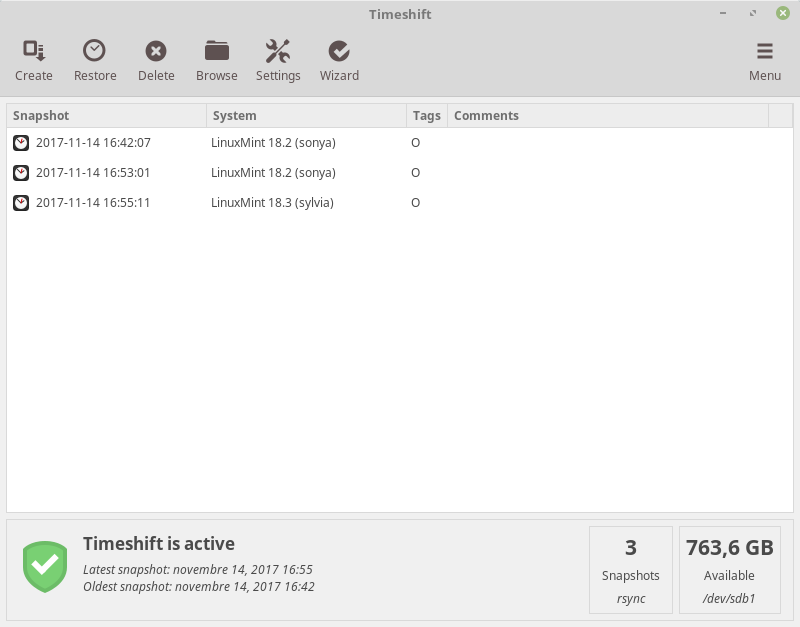
Timeshift is a system restore utility which takes snapshots of the system at regular intervals. These snapshots can be restored at a later date to undo system changes. Creates incremental snapshots using rsync or BTRFS snapshots using BTRFS tools.
2.3 TMCBeans MOOC Helsinki Java 2023
- You can install OpenJDK with the following terminal command (works for Ubuntu):
- From Linux Mint 20 onwards, a file called nosnap.pref needs to be either moved or removed from /etc/apt/preferences.d/ before Snap can be installed.
- With the file removed from its original location, the package database needs to be updated next:
(previous upgrade)
- To now install snap from the Software Manager application, search for snapd and click Install. Alternatively, snapd can be installed from the command line:
log out and then log in
To test your system, install the hello-world snap and make sure it runs correctly:
hello-world 6.4 from Canonical✓ installed- Test if snapd is installed:
Hello World!- Eventually, install TMCBeans
2.4 simplescreenrecorder
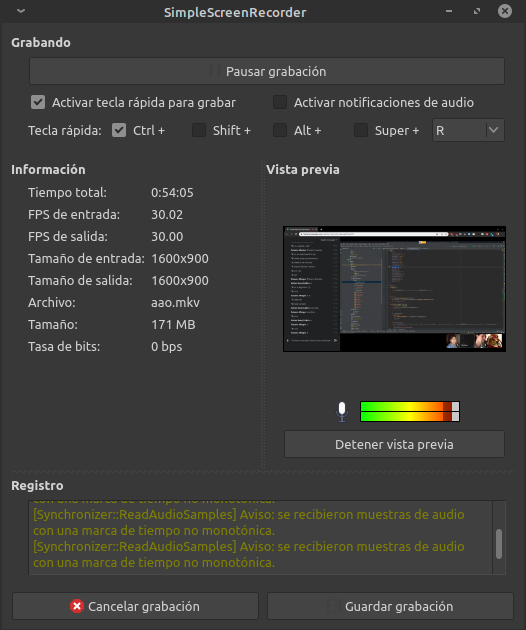
Simple Screen Recorder is, despite its name, an actually feature-rich screen recorder.
The name reflects the fact that it is simple to use unlike many other free screen recording applications available. It can be easily configured to start recording from an intuitive wizard-like interface.
It can record the entire screen or part of it directly. The recording can be paused and resumed at any time. Many different file formats and codecs are supported. To perform an X11 recording, all it takes is selecting an area on the root window with the mouse, choosing an output file and pressing record, either by using the mouse or using a hotkey.
2.5 curl
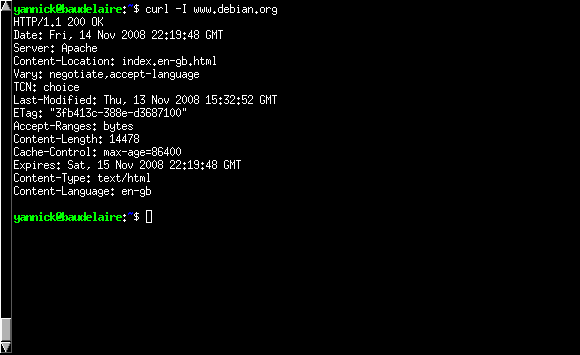
Curl is a command line tool for transferring data with URL syntax, supporting DICT, FILE, FTP, FTPS, GOPHER, HTTP, HTTPS, IMAP, IMAPS, LDAP, LDAPS, POP3, POP3S, RTMP, RTSP, SCP, SFTP, SMTP, SMTPS, TELNET and TFTP.
curl supports SSL certificates, HTTP POST, HTTP PUT, FTP uploading, HTTP form based upload, proxies, cookies, user+password authentication (Basic, Digest, NTLM, Negotiate, kerberos…), file transfer resume, proxy tunneling and a busload of other useful tricks.

