ReactJS: useState
ReactJS hooks
📘 hookState
useState is a React Hook that lets you add a state variable to your component.
const [state, setState] = useState(initialState)
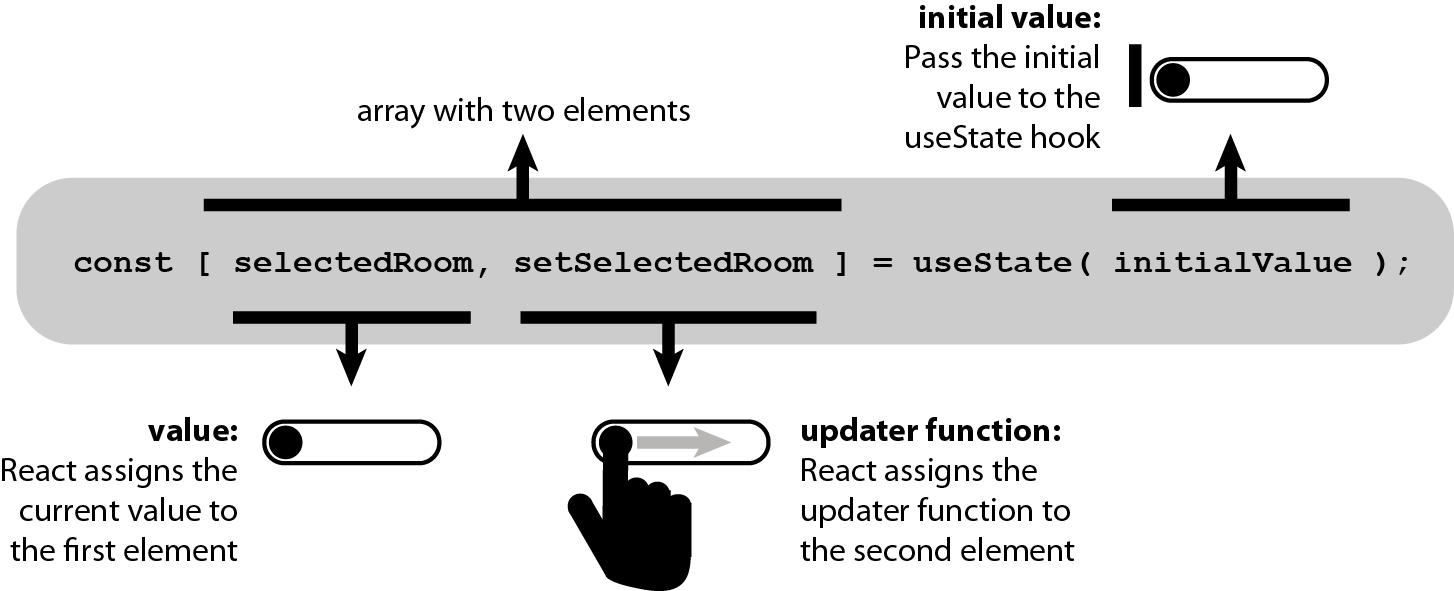
The useState hook takes a single argument, which is the initial state for the state variable. In the example above, the initial state is initialState. The hook returns an array with two elements: the current state value and a function that can be used to update the state value.
State: what-is-state-and-rendering-updaterender-cycle
1 Introduction
const [state, setState] = useState(initialState)
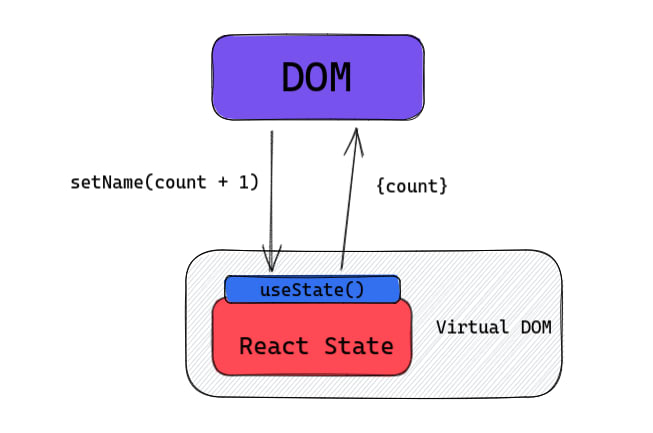
useState hook provides you with functionality to set state for a variable and automatically update the DOM with the new stateinitialState: The value you want the state to be initially. It can be a value of any type, but there is a special behavior for functions. This argument is ignored after the initial render.useStatereturns an array with exactly two values:state: The currentstate. During the first render, it will match theinitialStateyou have passed.setState: The set function that lets you update the state to a different value and trigger a re-render.
2 Why hooks are so important

useState is a hook in React that allows you to add state to functional components. Prior to the introduction of hooks, the only way to add state to a React component was to use a class component, which required you to write more code and follow a different syntax.

Hooks allow you to use state and other features in functional components, which can make your code more concise and easier to read. They also allow you to reuse stateful logic across your components, which can make your code more modular and easier to maintain.
3 Example 1
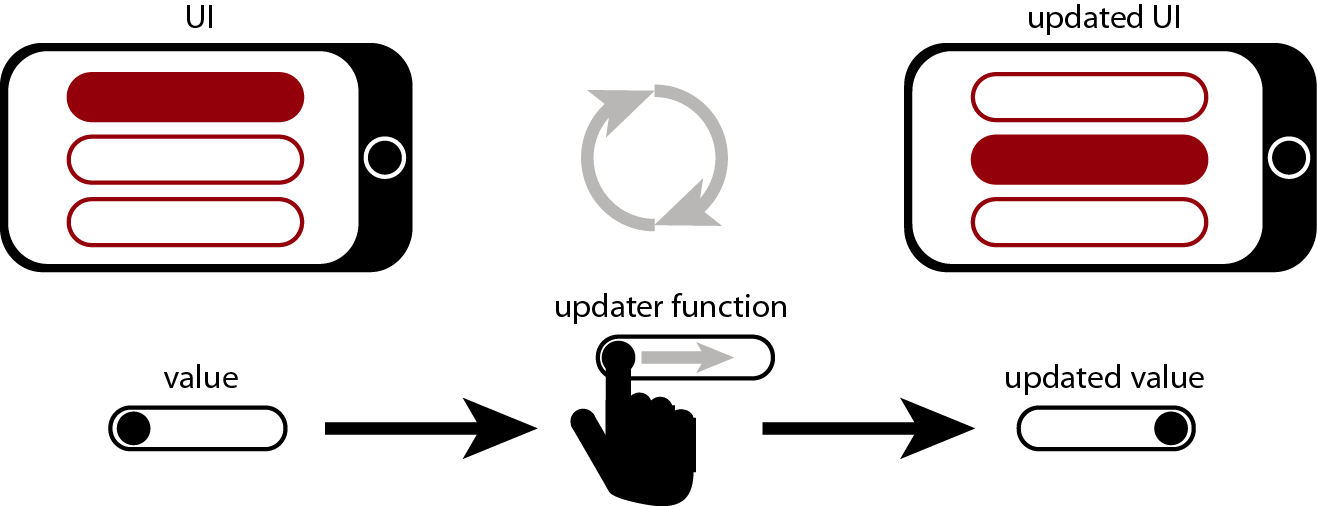
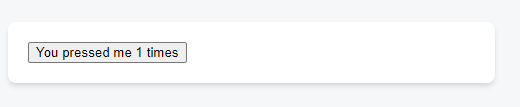
In this example, rahter than changing a value directly, we call a updater function. Calling useState returns a value and a updater function.
4 Example 2
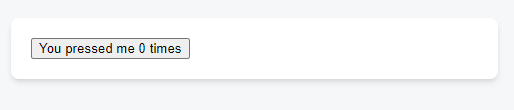
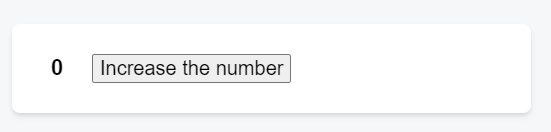
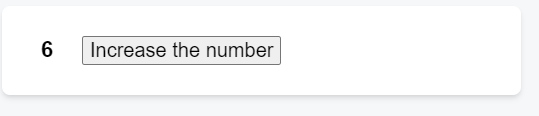
In this example, the count state variable holds a number. Clicking the button increments it.
App.js
5 Example 3
In this example, what about this event handler? What do you think number will be in the next render?
App.js

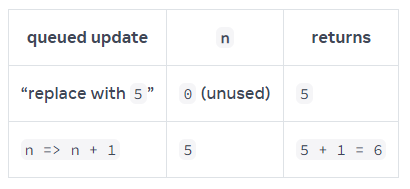
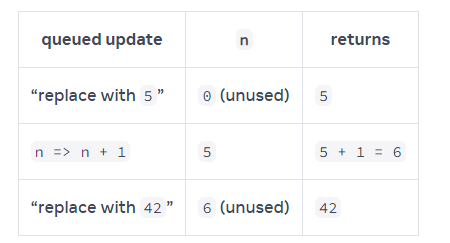
Here’s what this event handler tells React to do:
setNumber(number + 5): number is 0, sosetNumber(0 + 5). React adds replace with 5 to its queue.setNumber(n => n + 1): n => n + 1is an updater function. React adds that function to its queue.
During the next render, React goes through the state queue:
useState.6 Example 4
Let’s try one more example. What do you think number will be in the next render?

useState.7 Updating arrays without mutation
7.1 Example 1
Updating arrays without mutation is important in React because it helps to ensure that the state of your application remains predictable and easy to debug. When you mutate an array in place, you change its original value, which can make it difficult to understand what has changed and why.
In React, it’s generally recommended to avoid mutating the state directly, and instead to create new copies of the state with the desired changes applied. This ensures that the original state is preserved, and makes it easier to understand how the state of your application is changing over time.
Here’s an example of how you might update an array without mutation in React using the map function:
App.js
Updating arrays without mutation can help to ensure that the state of your code remains predictable and easy to understand, which can make it easier to develop and maintain.
In this example, the updateItem function takes an index as an argument, and uses the map function to create a new array with the item at the specified index doubled. The setItems function is then called with the new array, which updates the state of the items array without mutating the original value.
7.2 Example 2
Adding to array with useState:
And instead of using
push(), we will create a new array which contains the existing items and a new item at the end. There are multiple ways to do this, but the easiest one is to use the...arrayspreadsyntax:
App.js
import { useState } from 'react';

let nextId = 0;

export default function List() {
  const [name, setName] = useState('');
  const [artists, setArtists] = useState([]);

  return (
    <>
      <h1>Inspiring sculptors:</h1>
      <input
        value={name}
        onChange={e => setName(e.target.value)}
      />
      <button onClick={() => {
        setName('');
        setArtists([
          ...artists,
          { id: nextId++, name: name }
        ]);
      }}>Add</button>
      <ul>
        {artists.map(artist => (
          <li key={artist.id}>{artist.name}</li>
        ))}
      </ul>
    </>
  );
}
... spread inital render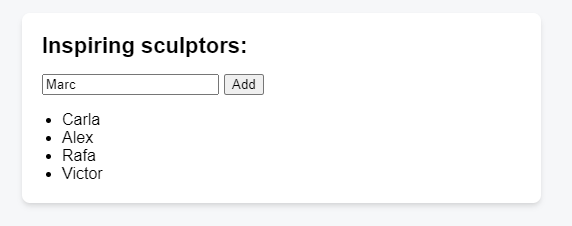
... spread new renderThe array spread syntax also lets you prepend an item by placing it before the original ...artists:
In this way, spread can do the job of both push() by adding to the end of an array and unshift() by adding to the beginning of an array.